
Introduction
In the previous article, we discussed how to patch an executable to redirect execution flow.
The problem is that if you try to run this on your Mac right after patching, the system will refuse to execute it : zsh killed
Don’t forget to add executable permissions first with chmod +x ./age though.
Afterwards, you get :
1
2
3
4
5
6
$ ./patcher.py ./age
[i] Replacing instruction at offset 0x3f04
Patched file created
$ chmod +x ./age
$ ./age_patched
zsh: killed     ./age_patched
Identifying the problem
It is pretty straightforward, and after having a look at the Console app, we can see that the problem comes from the executable’s signature.
Just to be sure, we can run :
1
2
3
$ codesign -v ./age_patched
./age_patched: invalid signature (code or signature have been modified)
In architecture: arm64
Creating a code signing certificate
We have to re-sign our executable, but first we must create a code signing certificate for that.
This procedure has been described countless times online to sign gdb on macOS, so if you have trouble with this step, there are plenty of alternative tutorials available.\
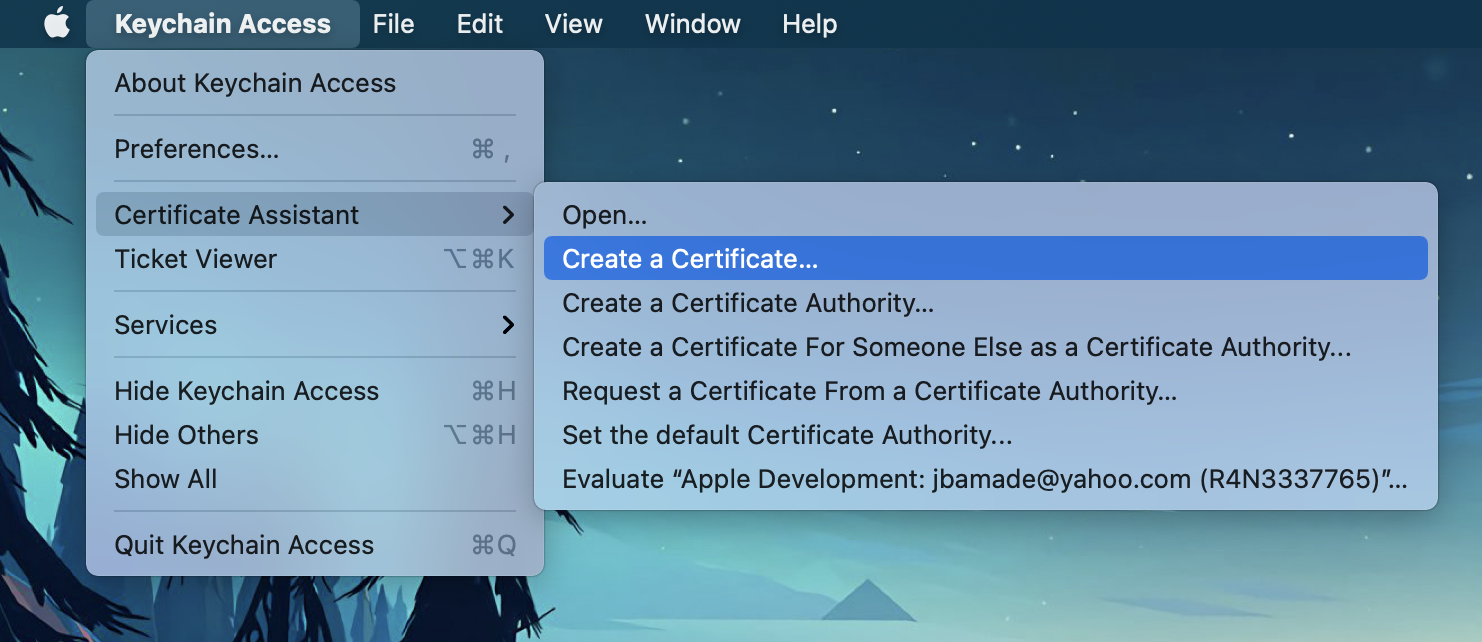
- Open
Keychain.app, go toCertificate Assistant > Create a certificate...![Desktop View]()
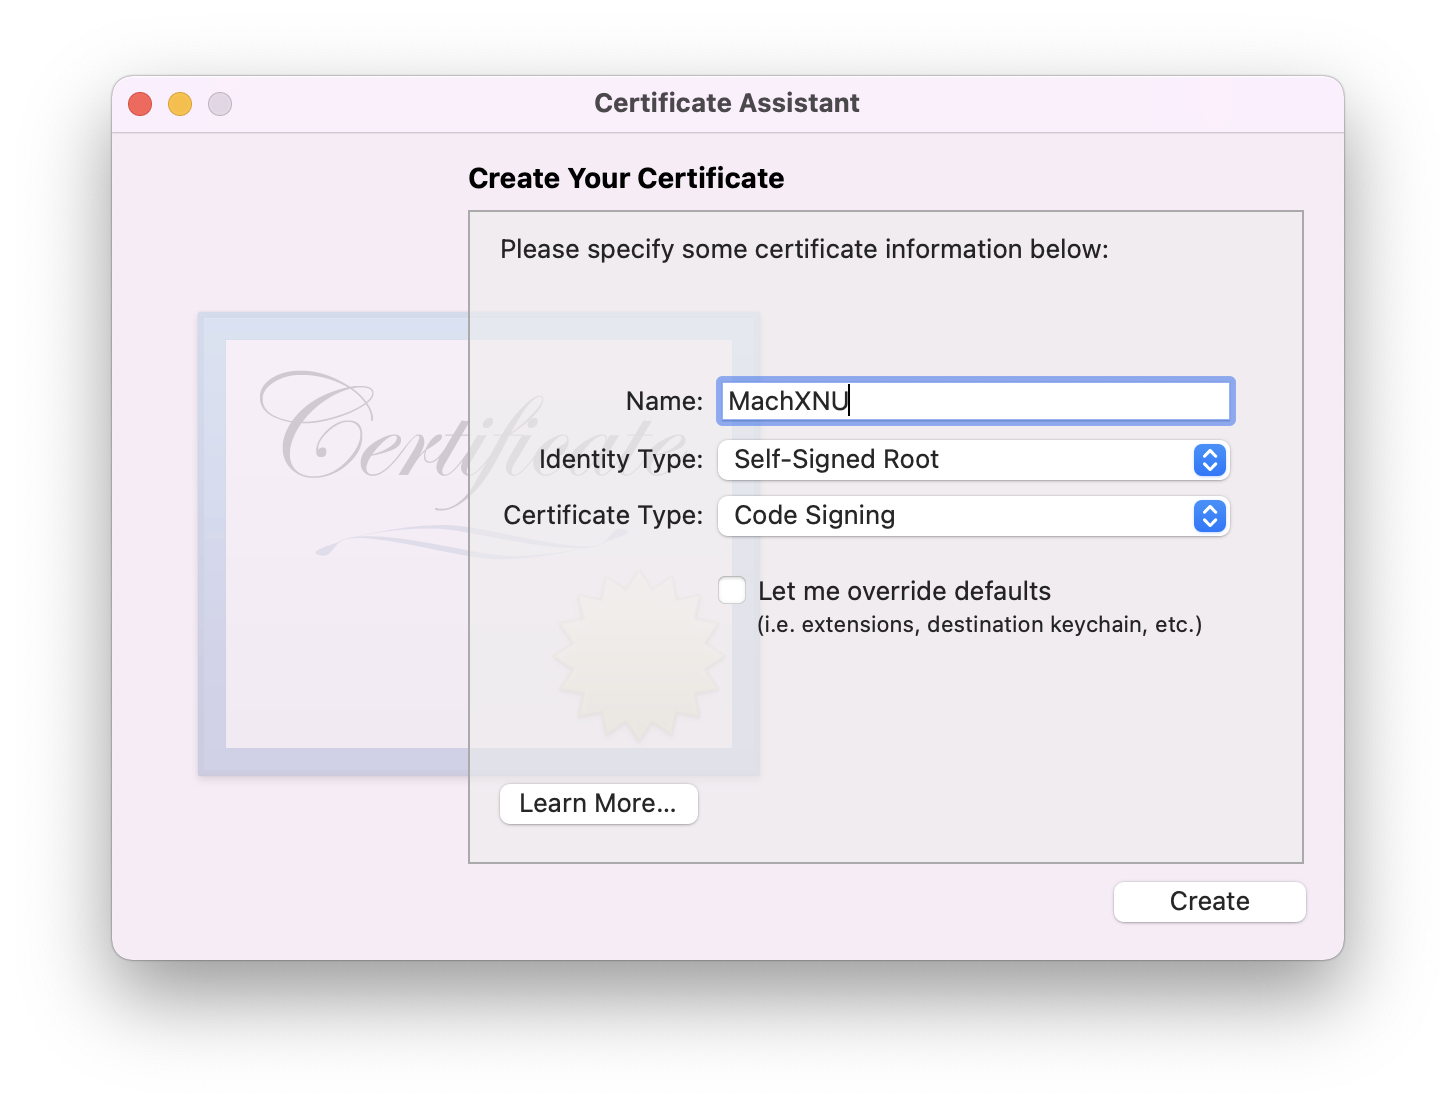
- Select
Self-Signed Root,Code Signing![Desktop View]()
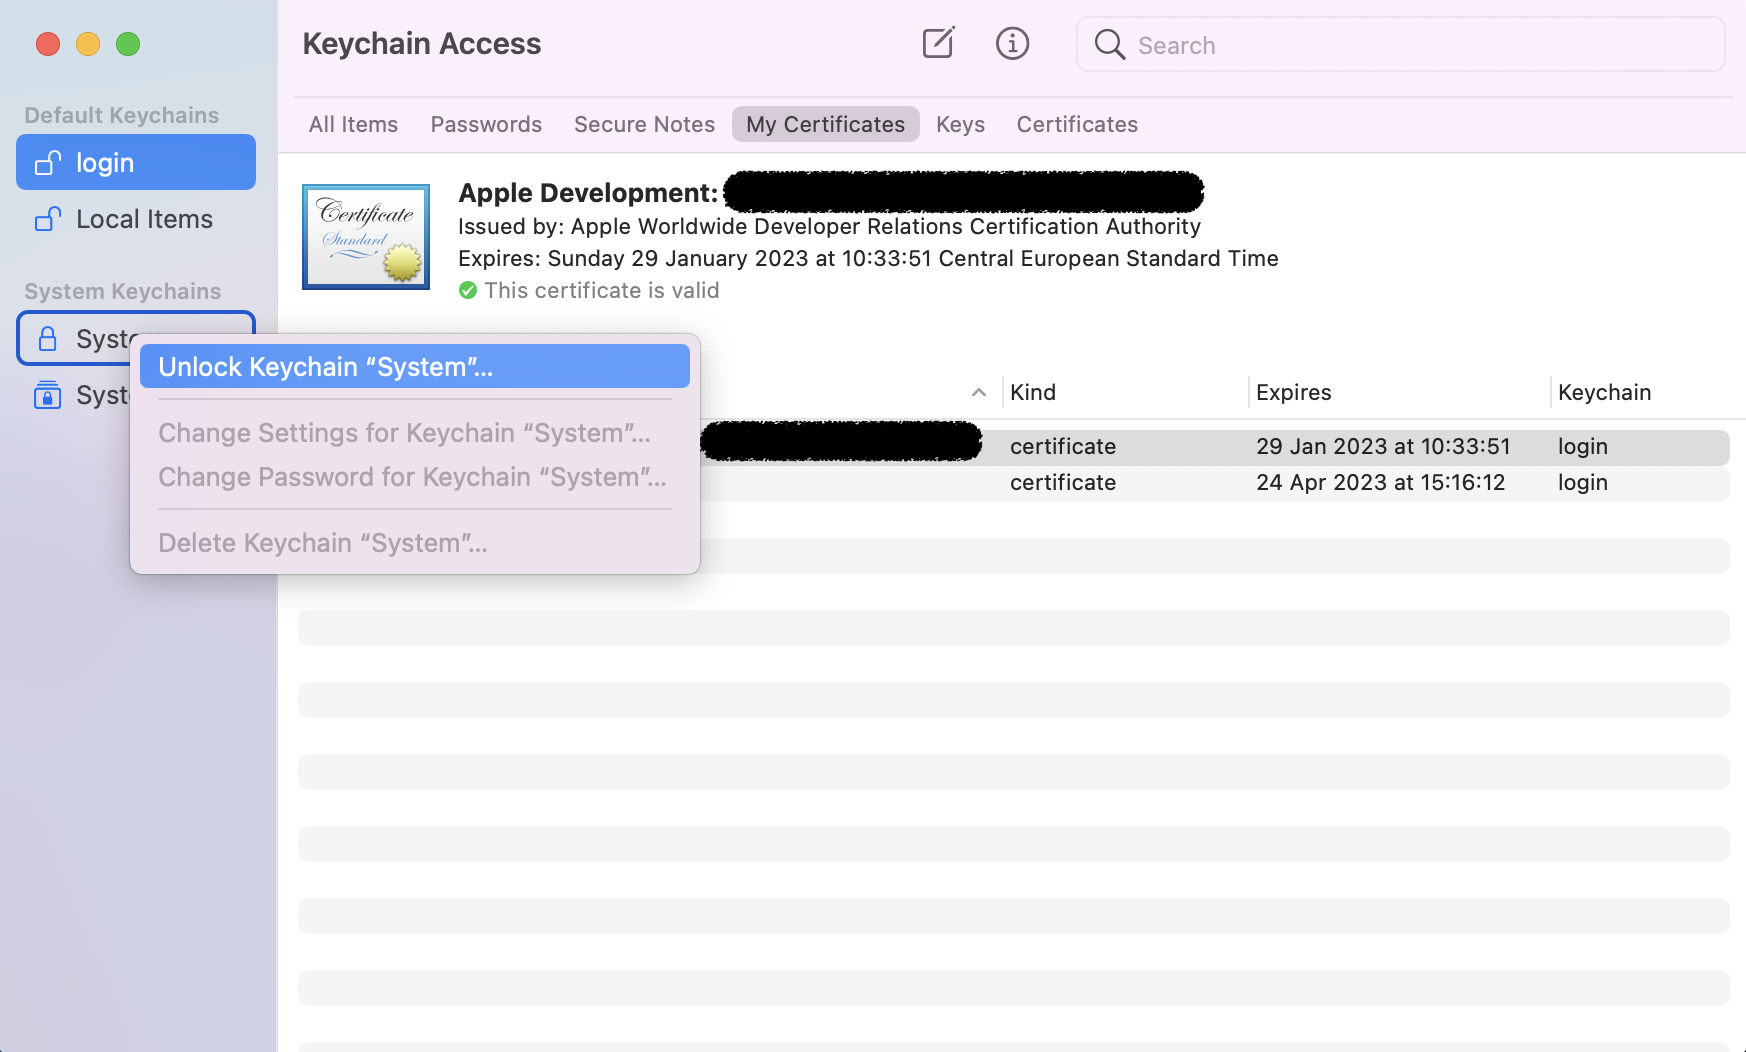
- Unlock
Systemkeychain![Desktop View]()
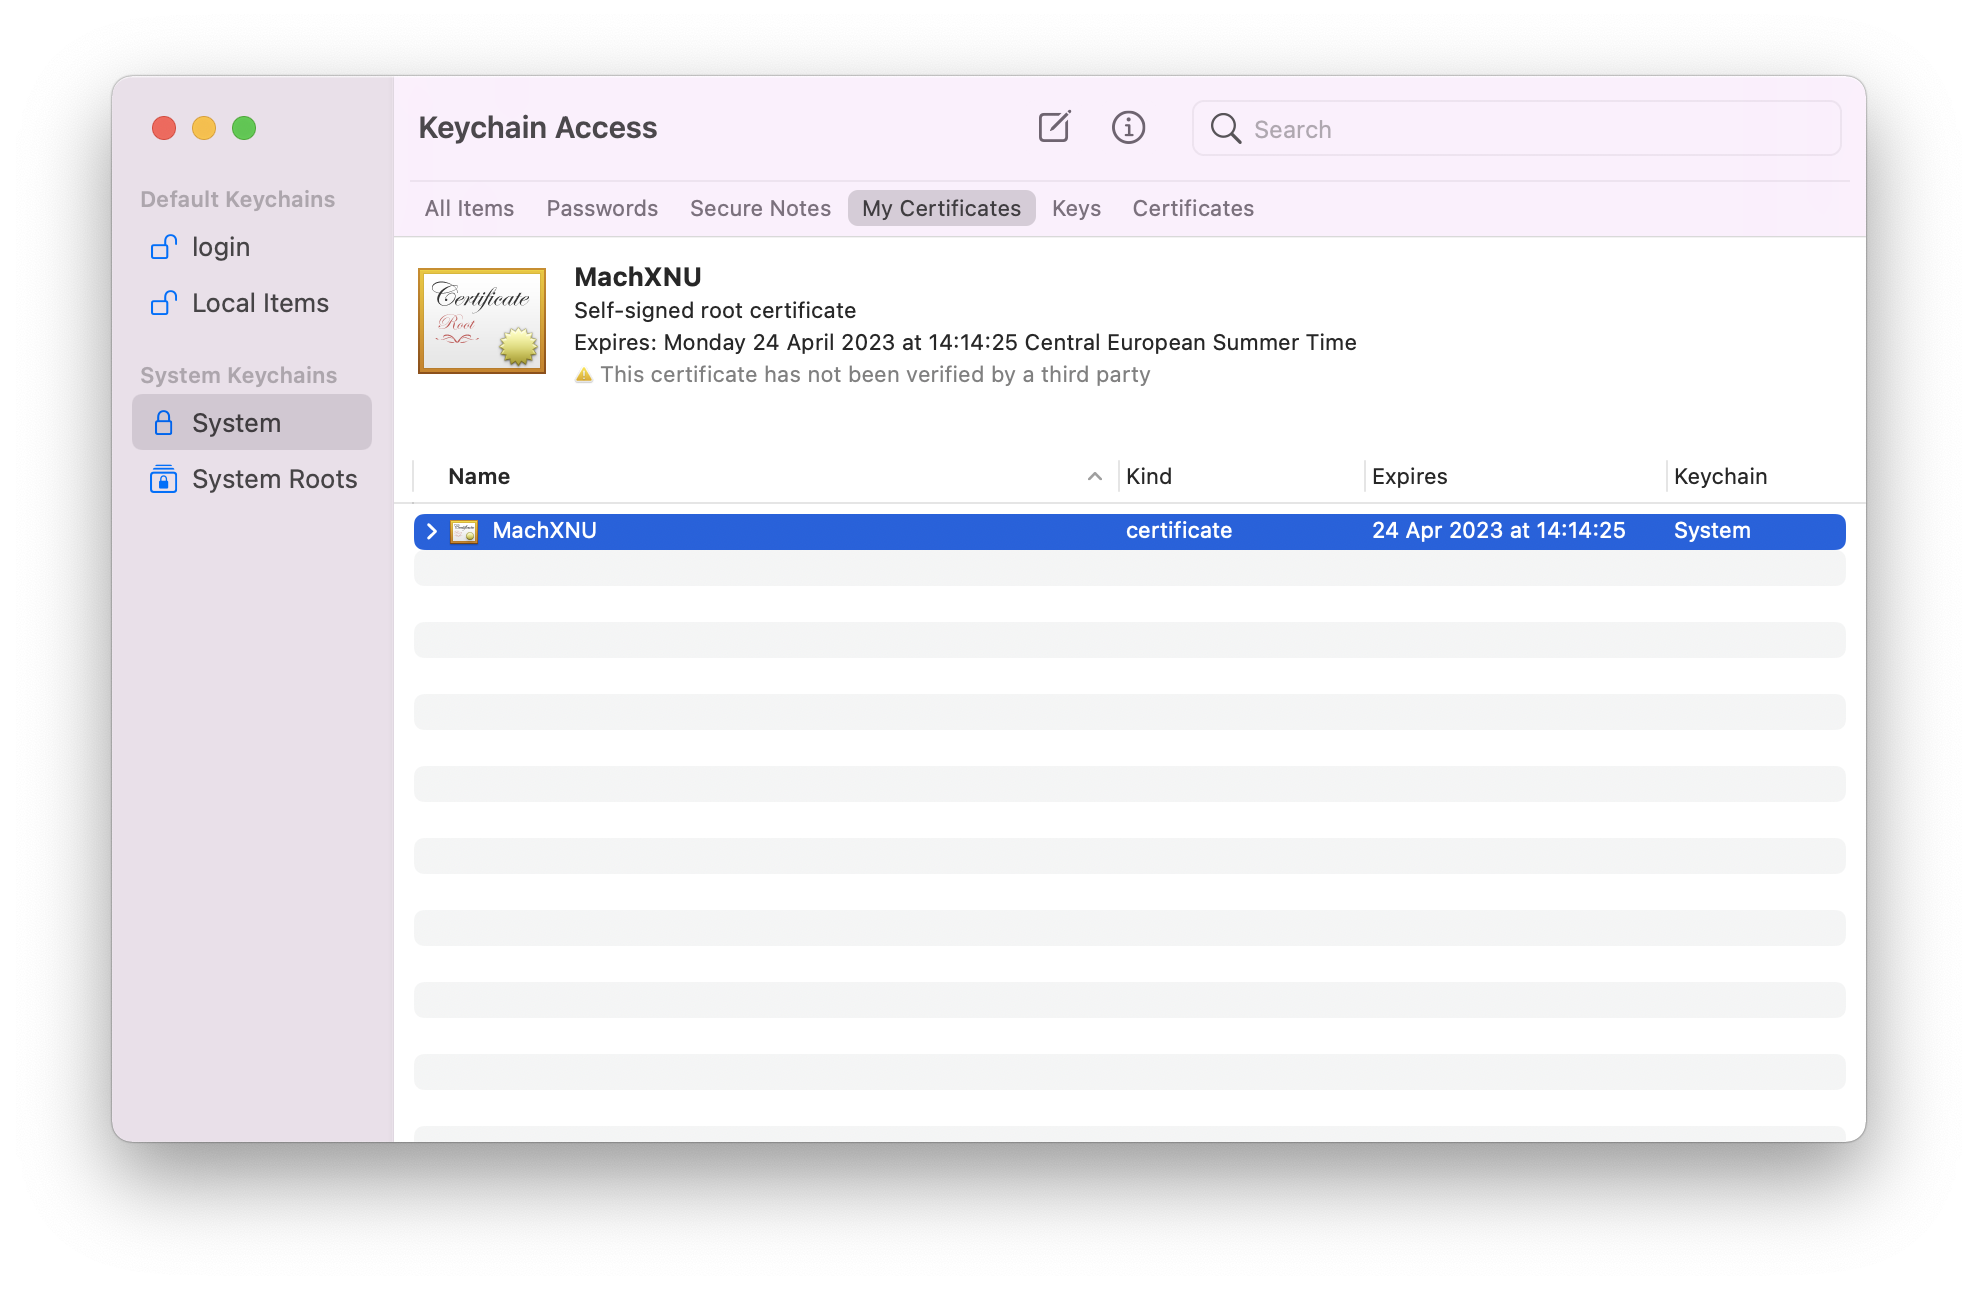
- Move the certificate from
LogintoSystem
If you have trouble doing this, try a copy/paste + delete original![Desktop View]()
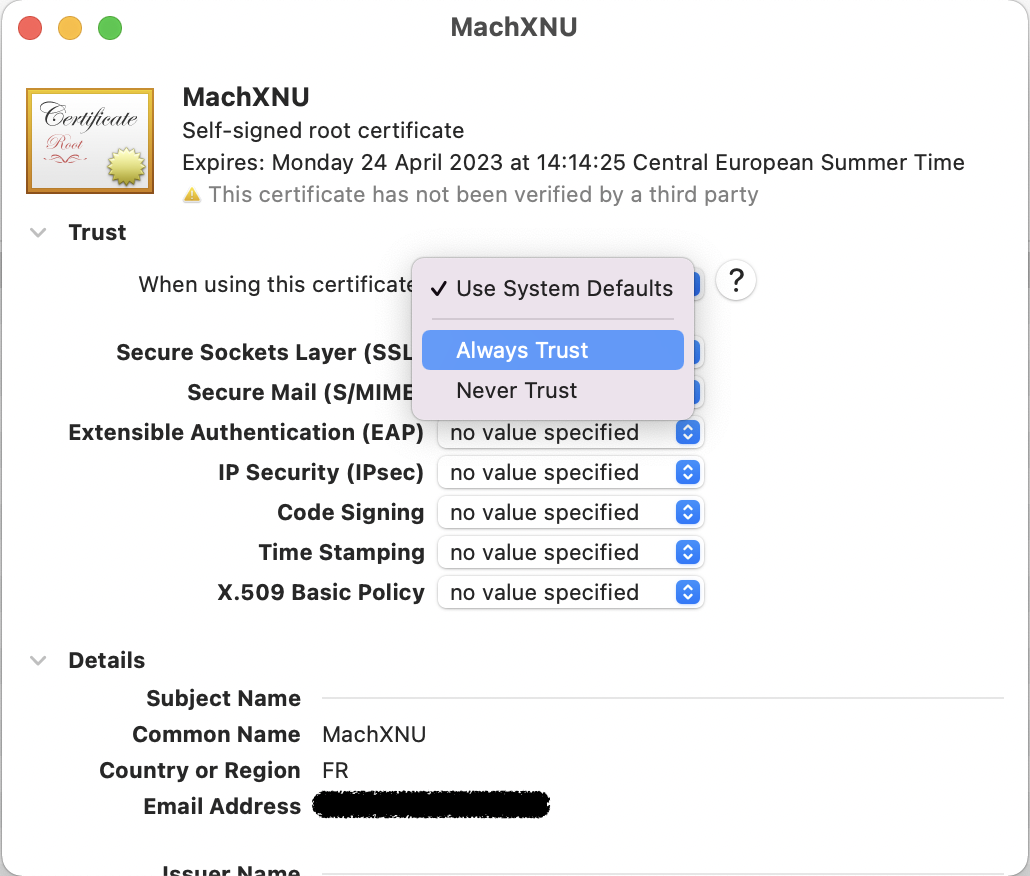
- Right click on your certificate,
Get infoand expand theTrusttriangle. In the drop-down menu, chooseAlways trust![Desktop View]()
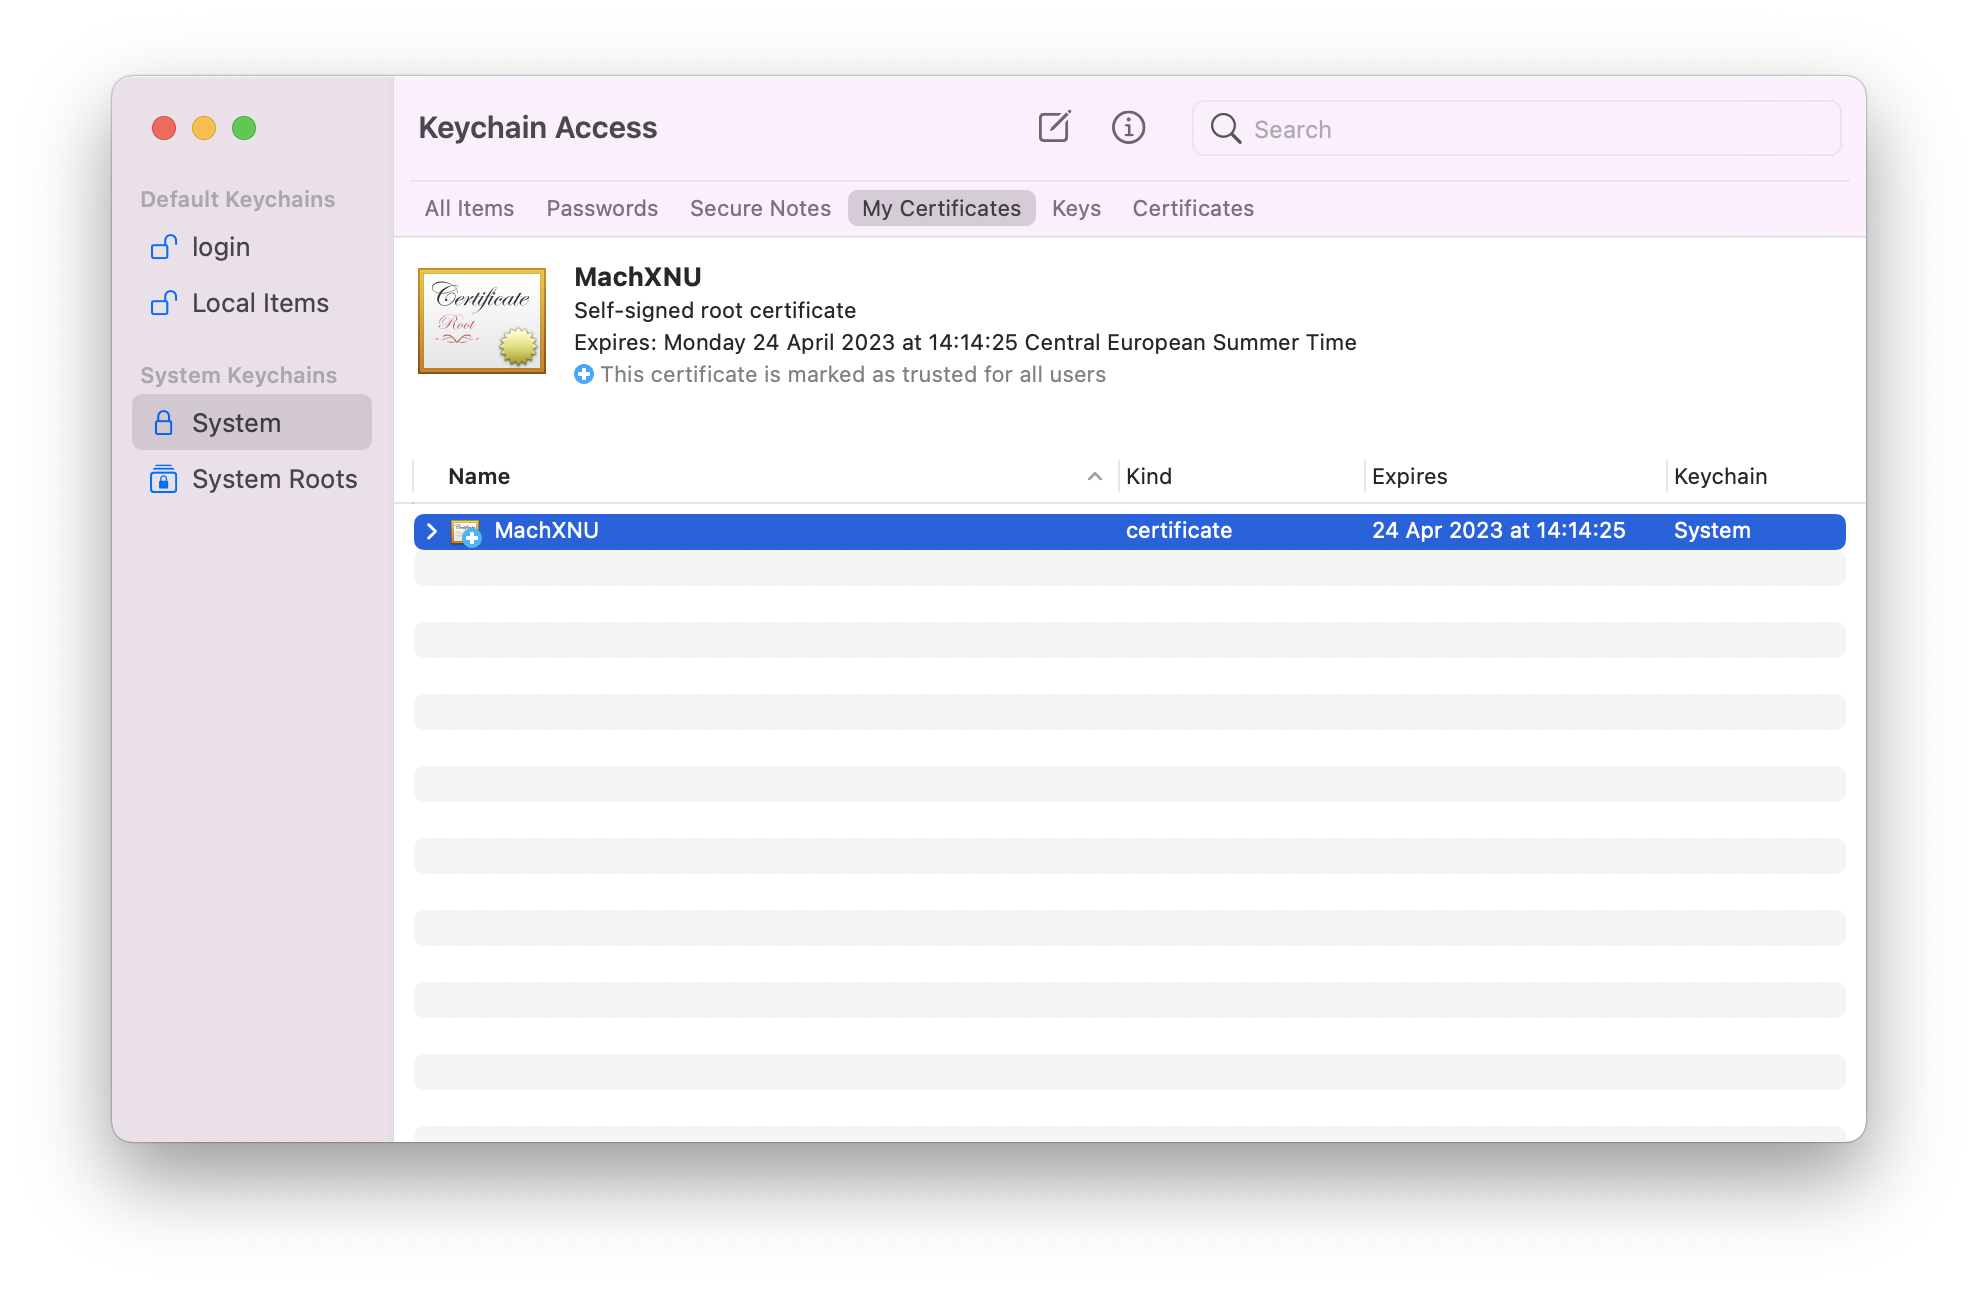
- Close the window and authenticate.
If you’ve done everything correctly, there is a+sign next to your certificate.![Desktop View]()
Our certificate is ready to use !
Signing the patched executable
Now you can sign your patched executable :
1
2
$ codesign -fs MachXNU ./age_patched
./age_patched: replacing existing signature
You can now execute the (patched and) signed binary :
1
2
3
$ ./age_patched
How old are you ? 10
You are an adult
Conclusion
Creating a code signing certificate and signing the patched binary is enough to make macOS execute it !